Most POS systems take hours to set up — hardware install, software configuration, staff training. NexPOS takes 2 minutes. Here is exactly how, with screenshots from each step.
What you need
- A phone, tablet, or computer (anything with a browser)
- An email address
- That is it. No credit card. No hardware. No technician.
Step 1 · 30s
Create your account
Go to nexpos.co and click Start Free. Enter your name, email, and business name. You are in. No credit card.
Step 2 · 30s
Add your first product
Click Products in the sidebar, then Add Product. Enter name, price, and category. That is the only required input. Want bulk import? Drop an Excel/CSV file in.
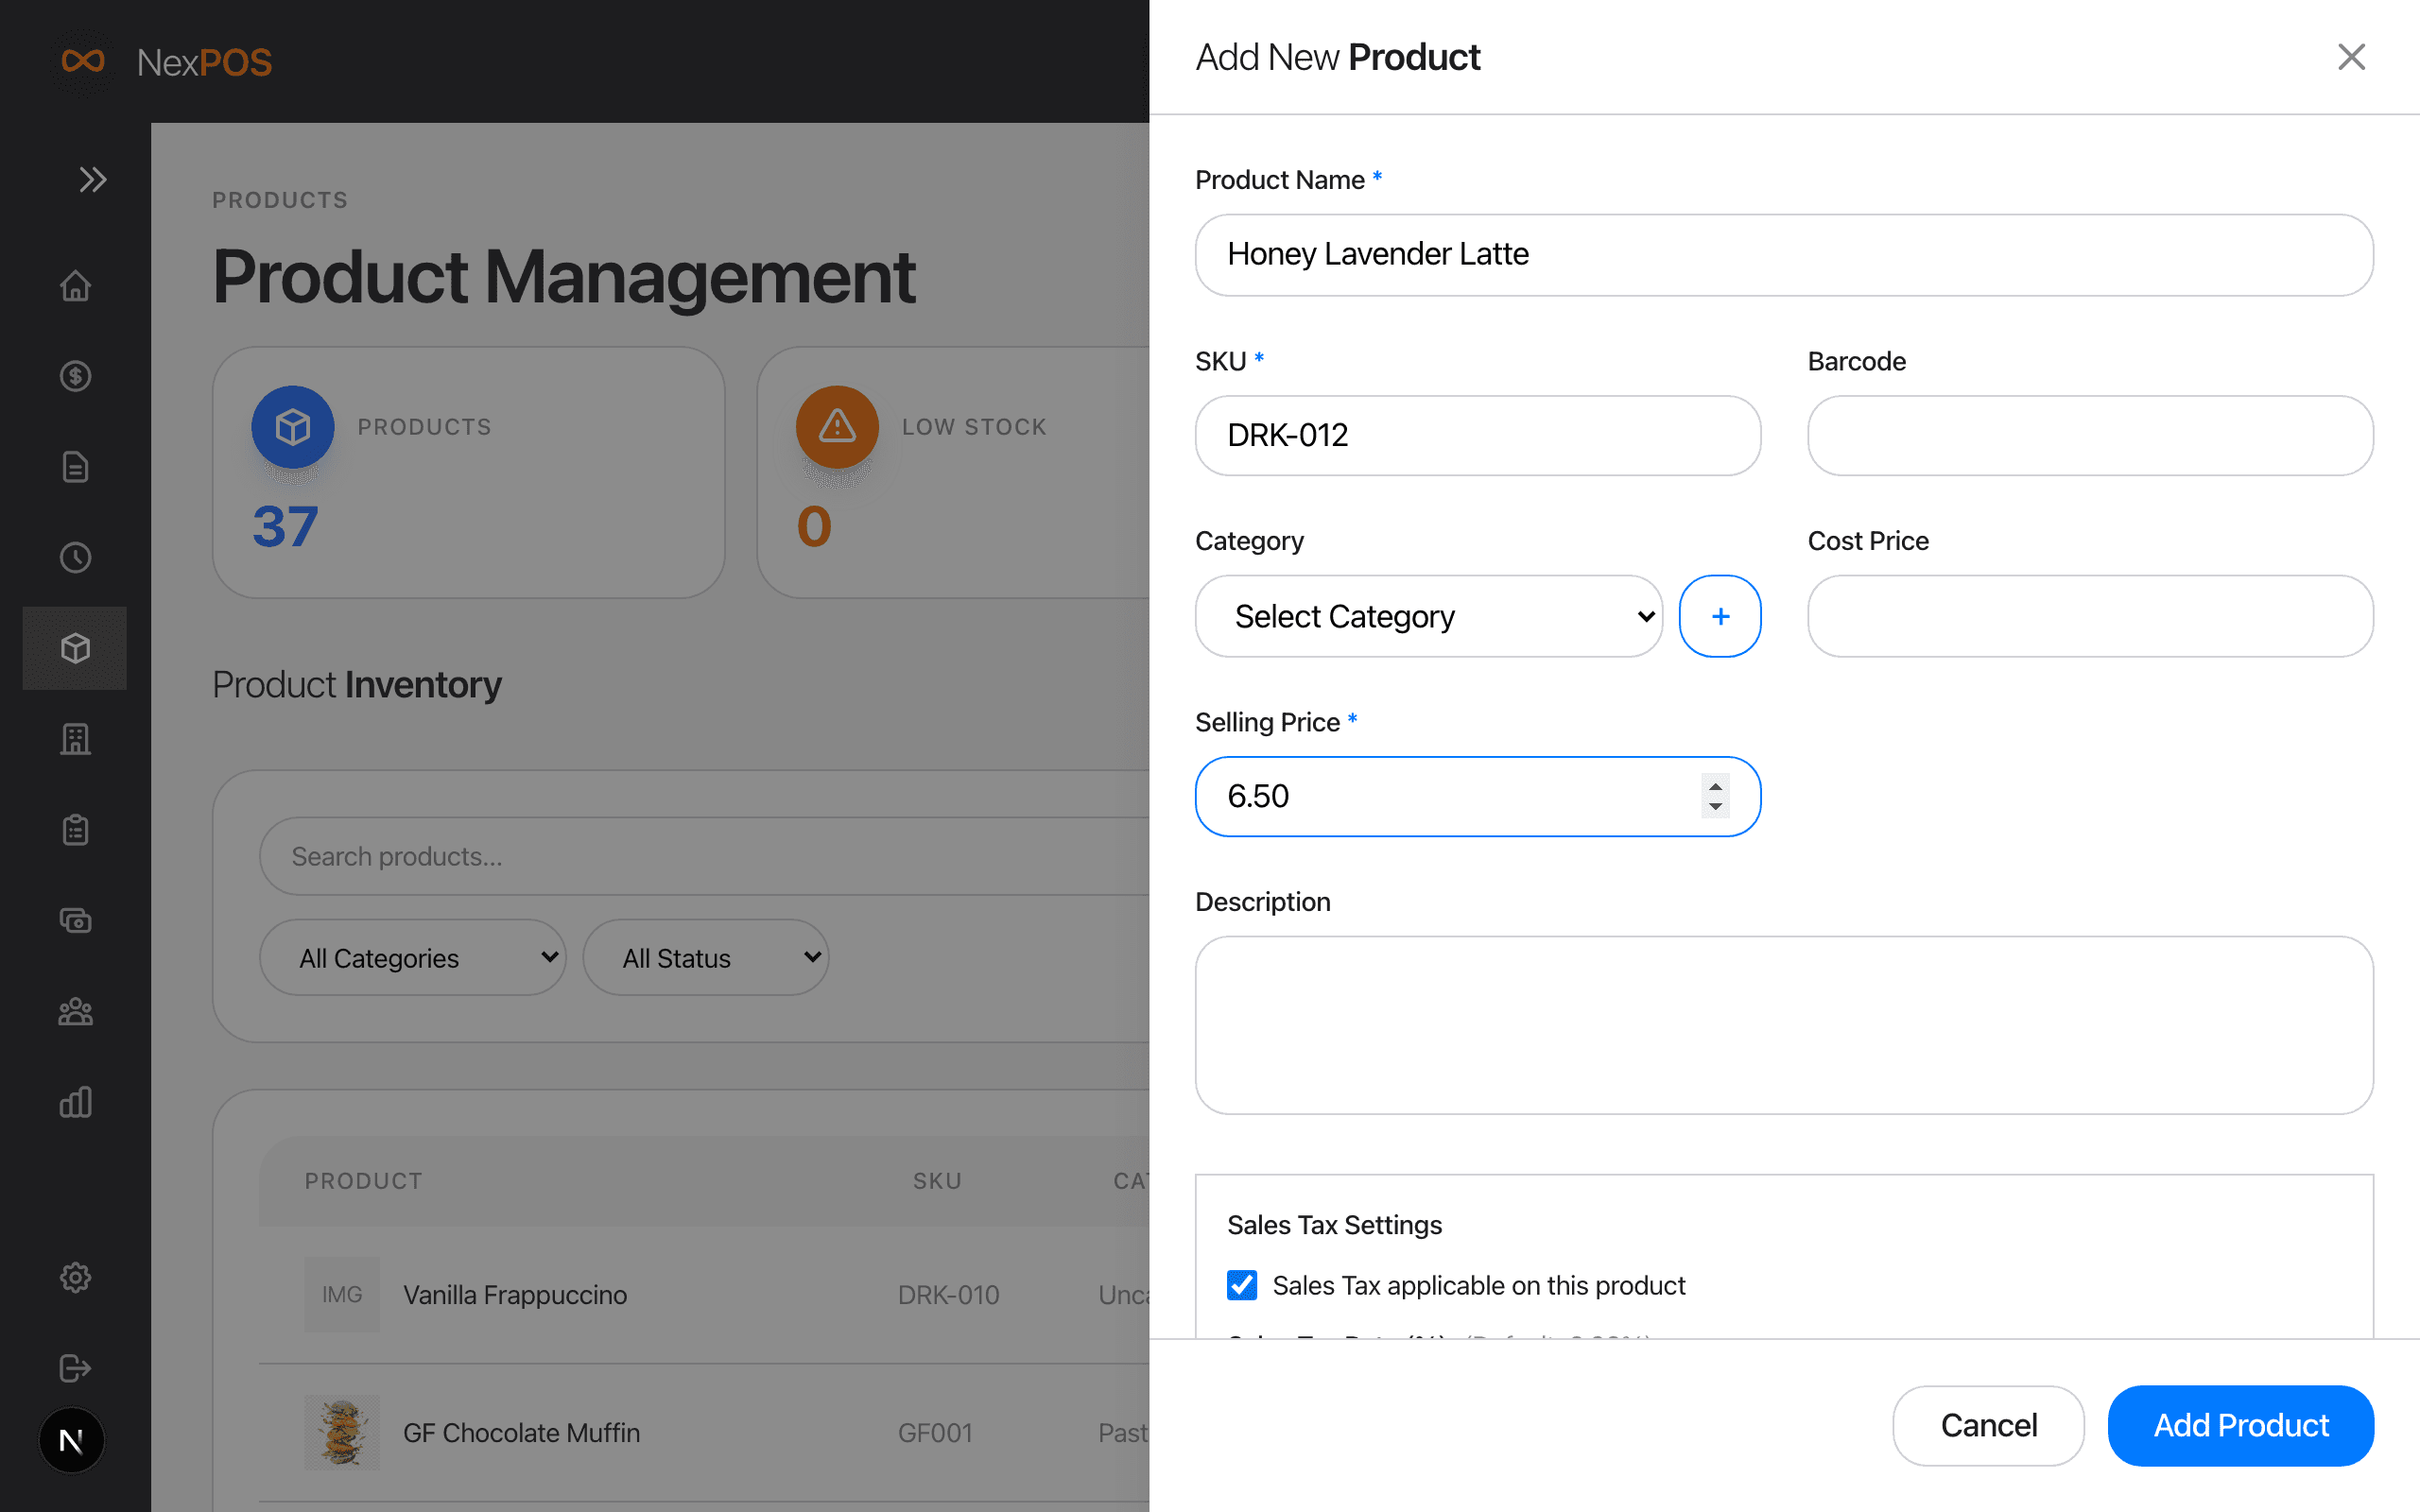
- Product name and price are the only required fields
- Add images, descriptions, and variants later
- Categories help organize your POS screen
Step 3 · 30s
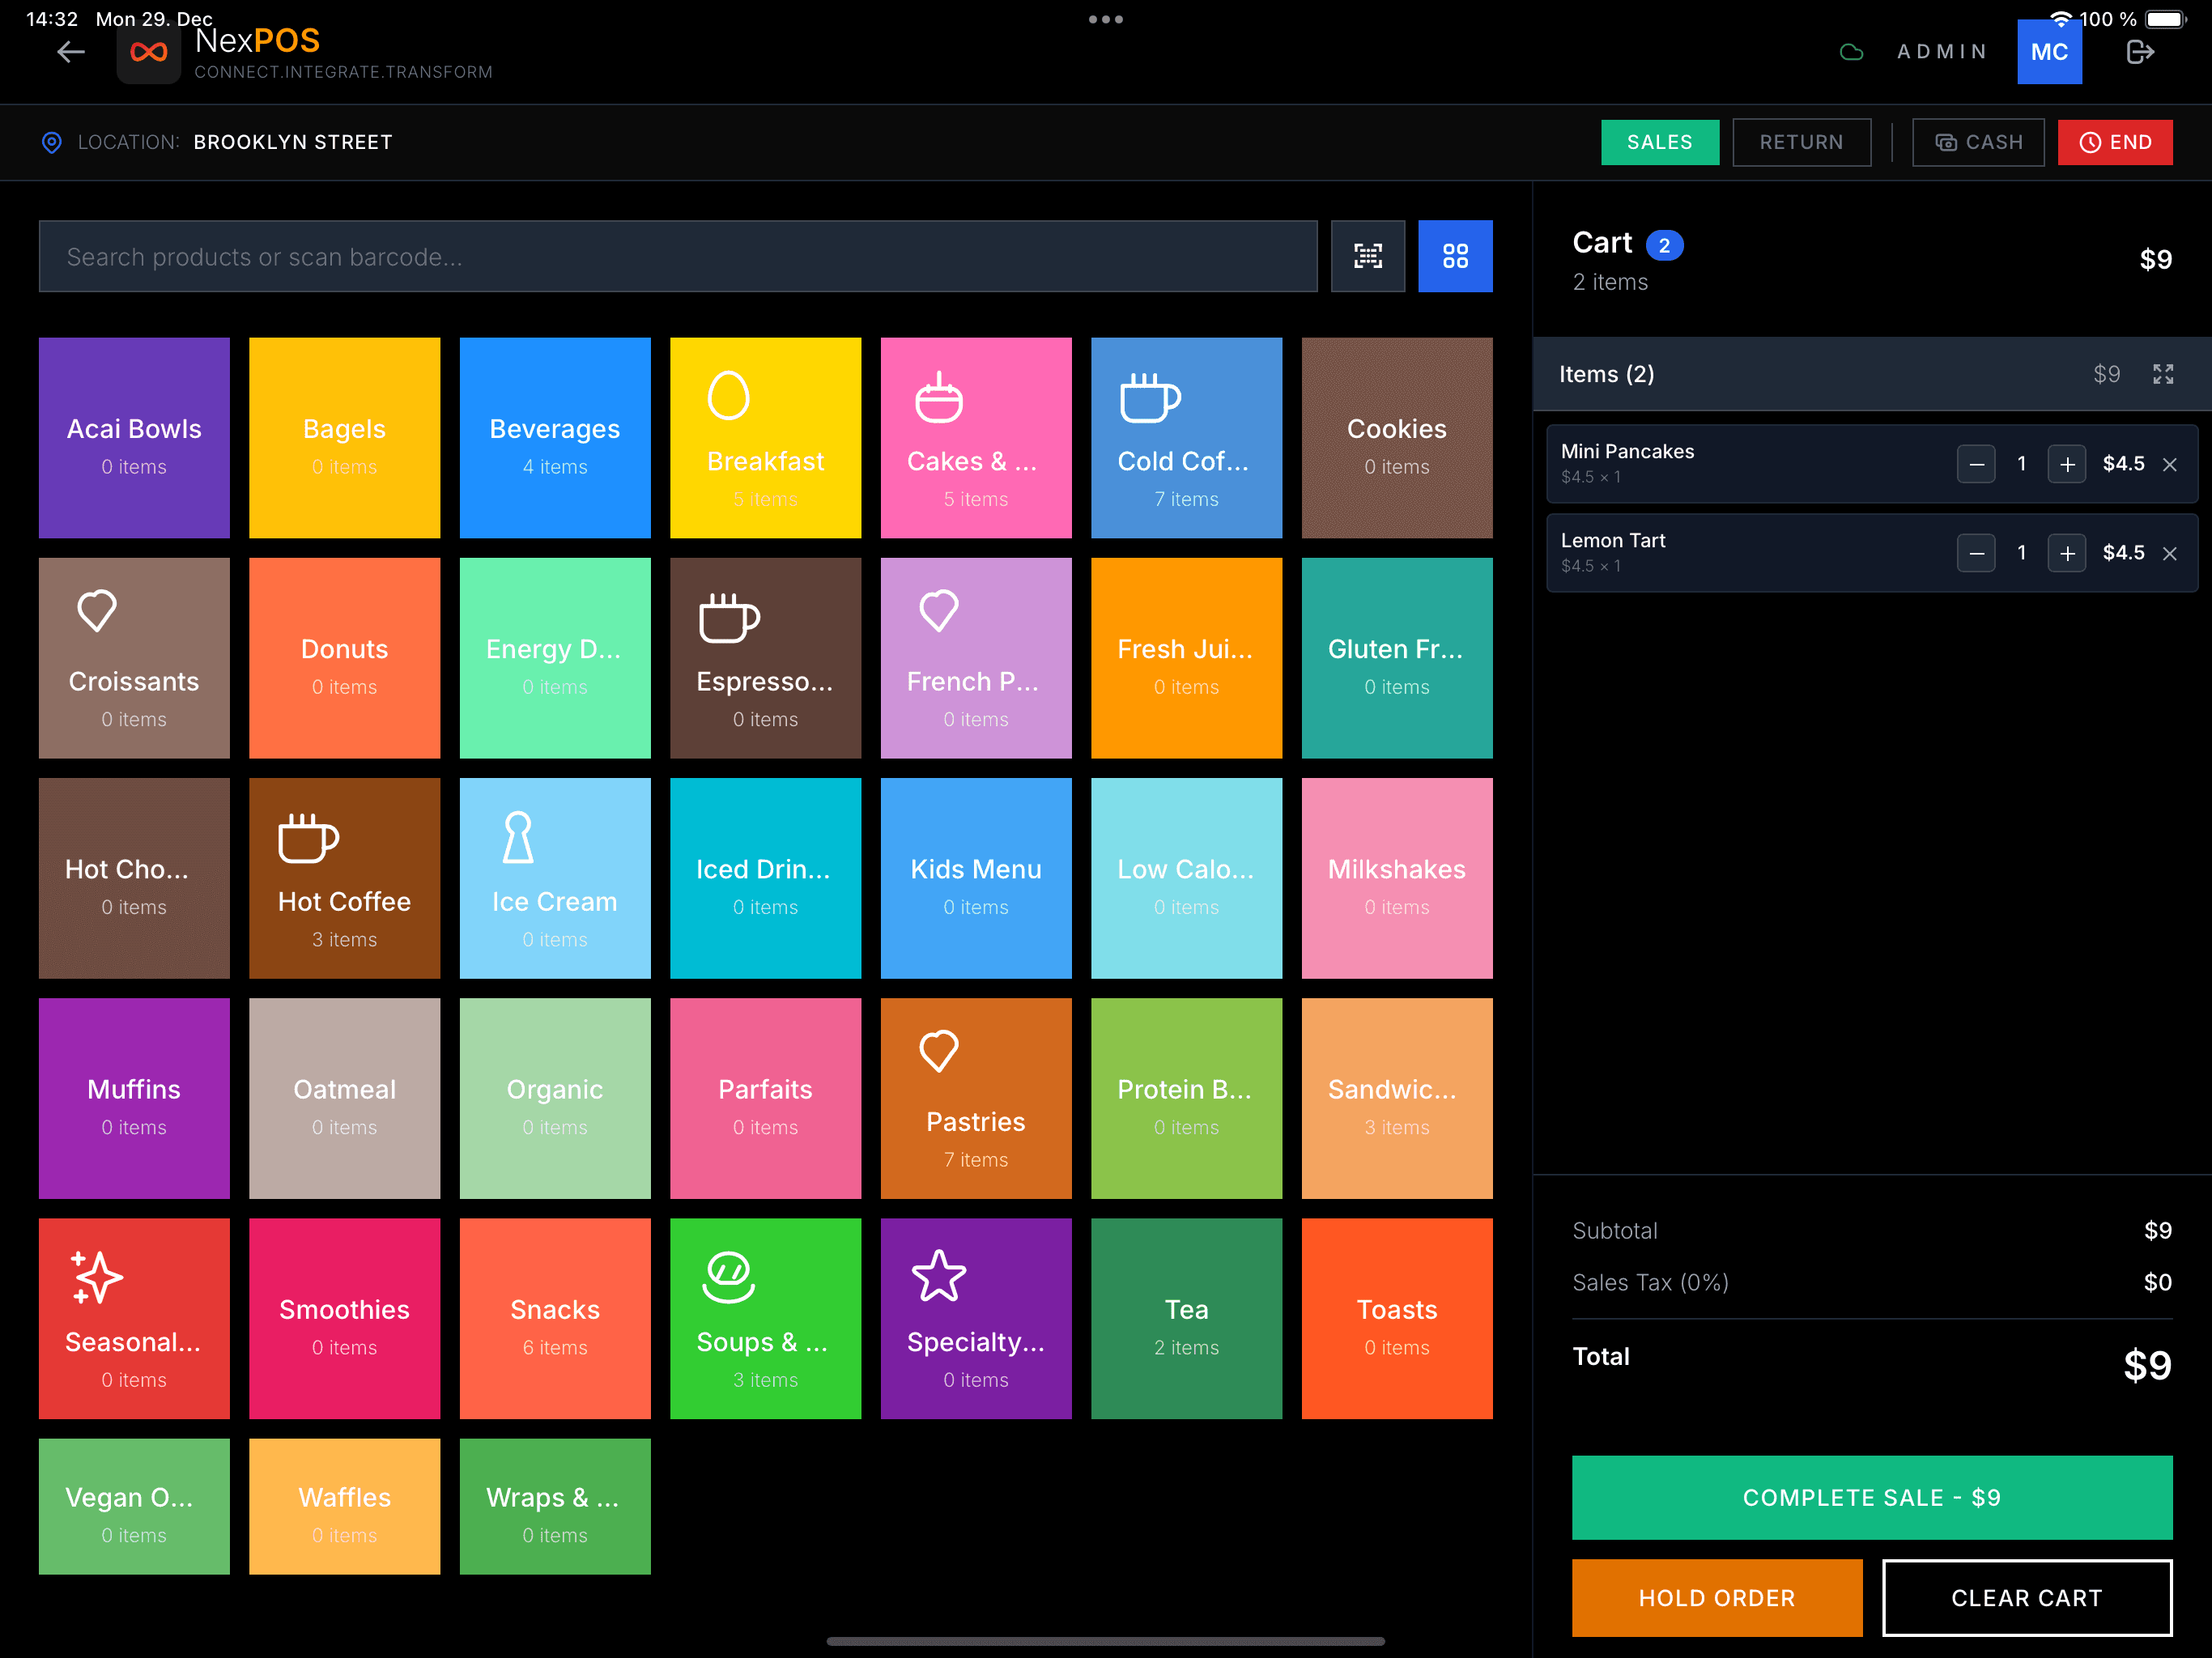
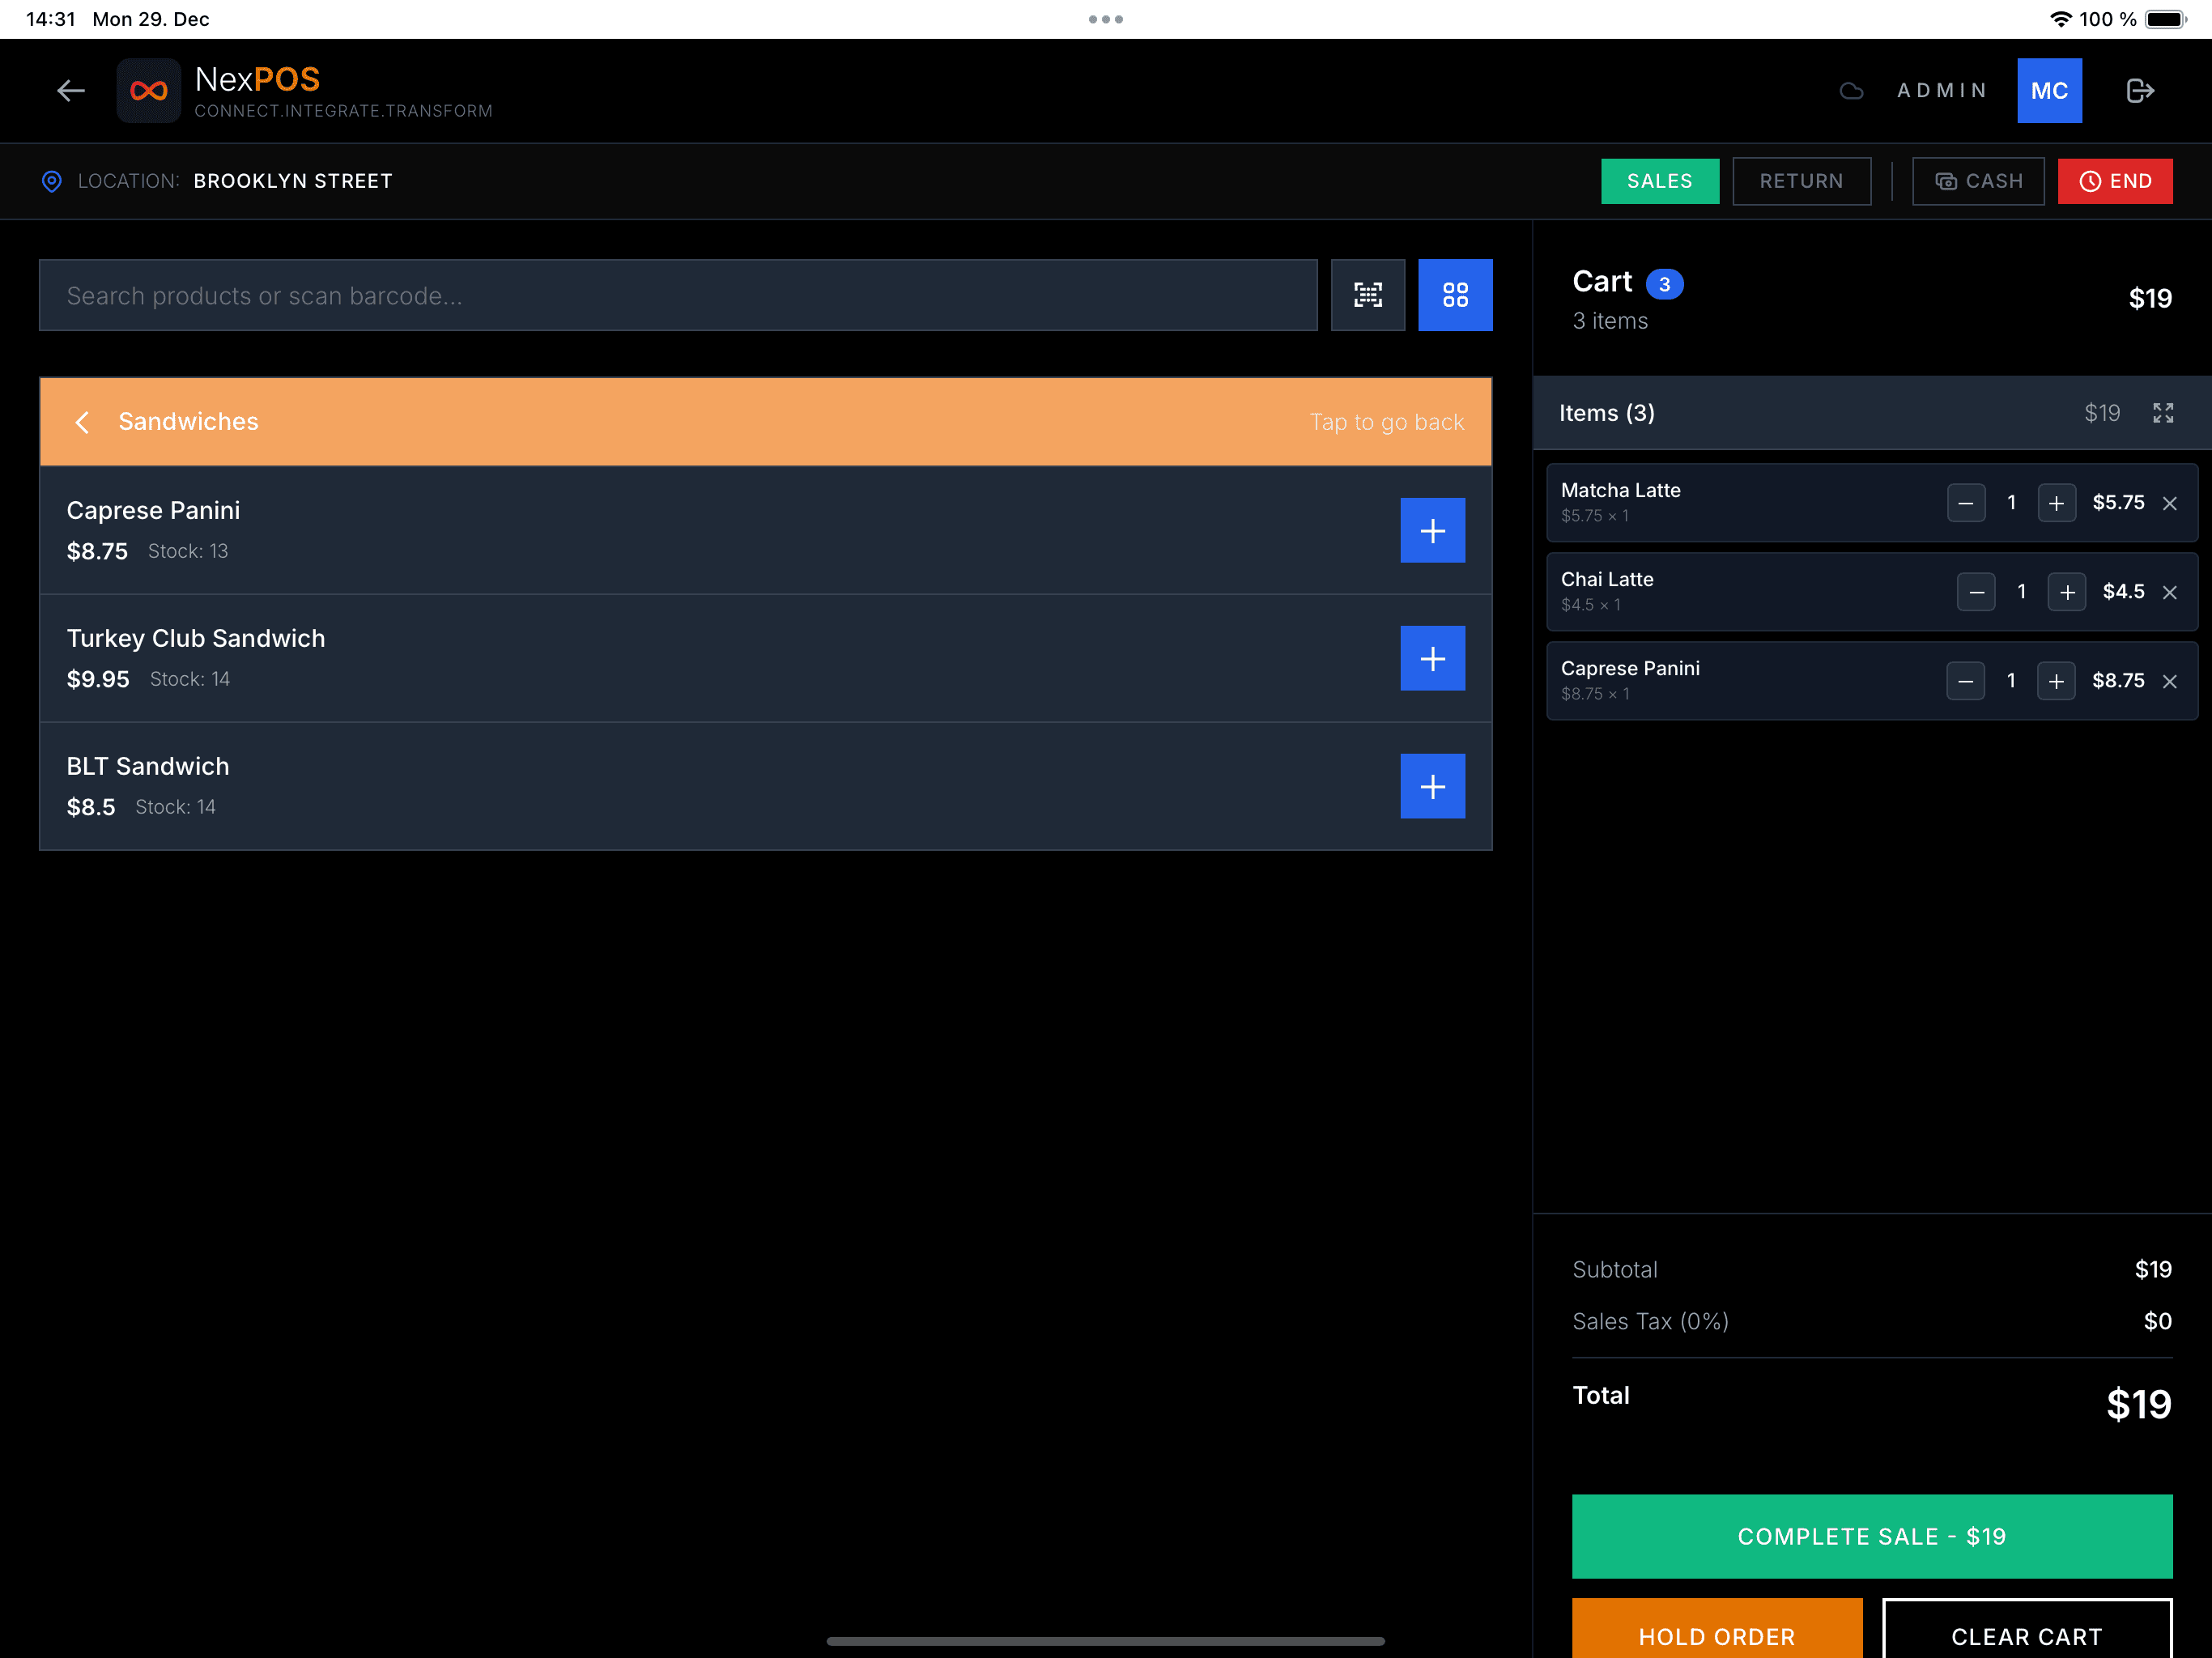
Make your first sale
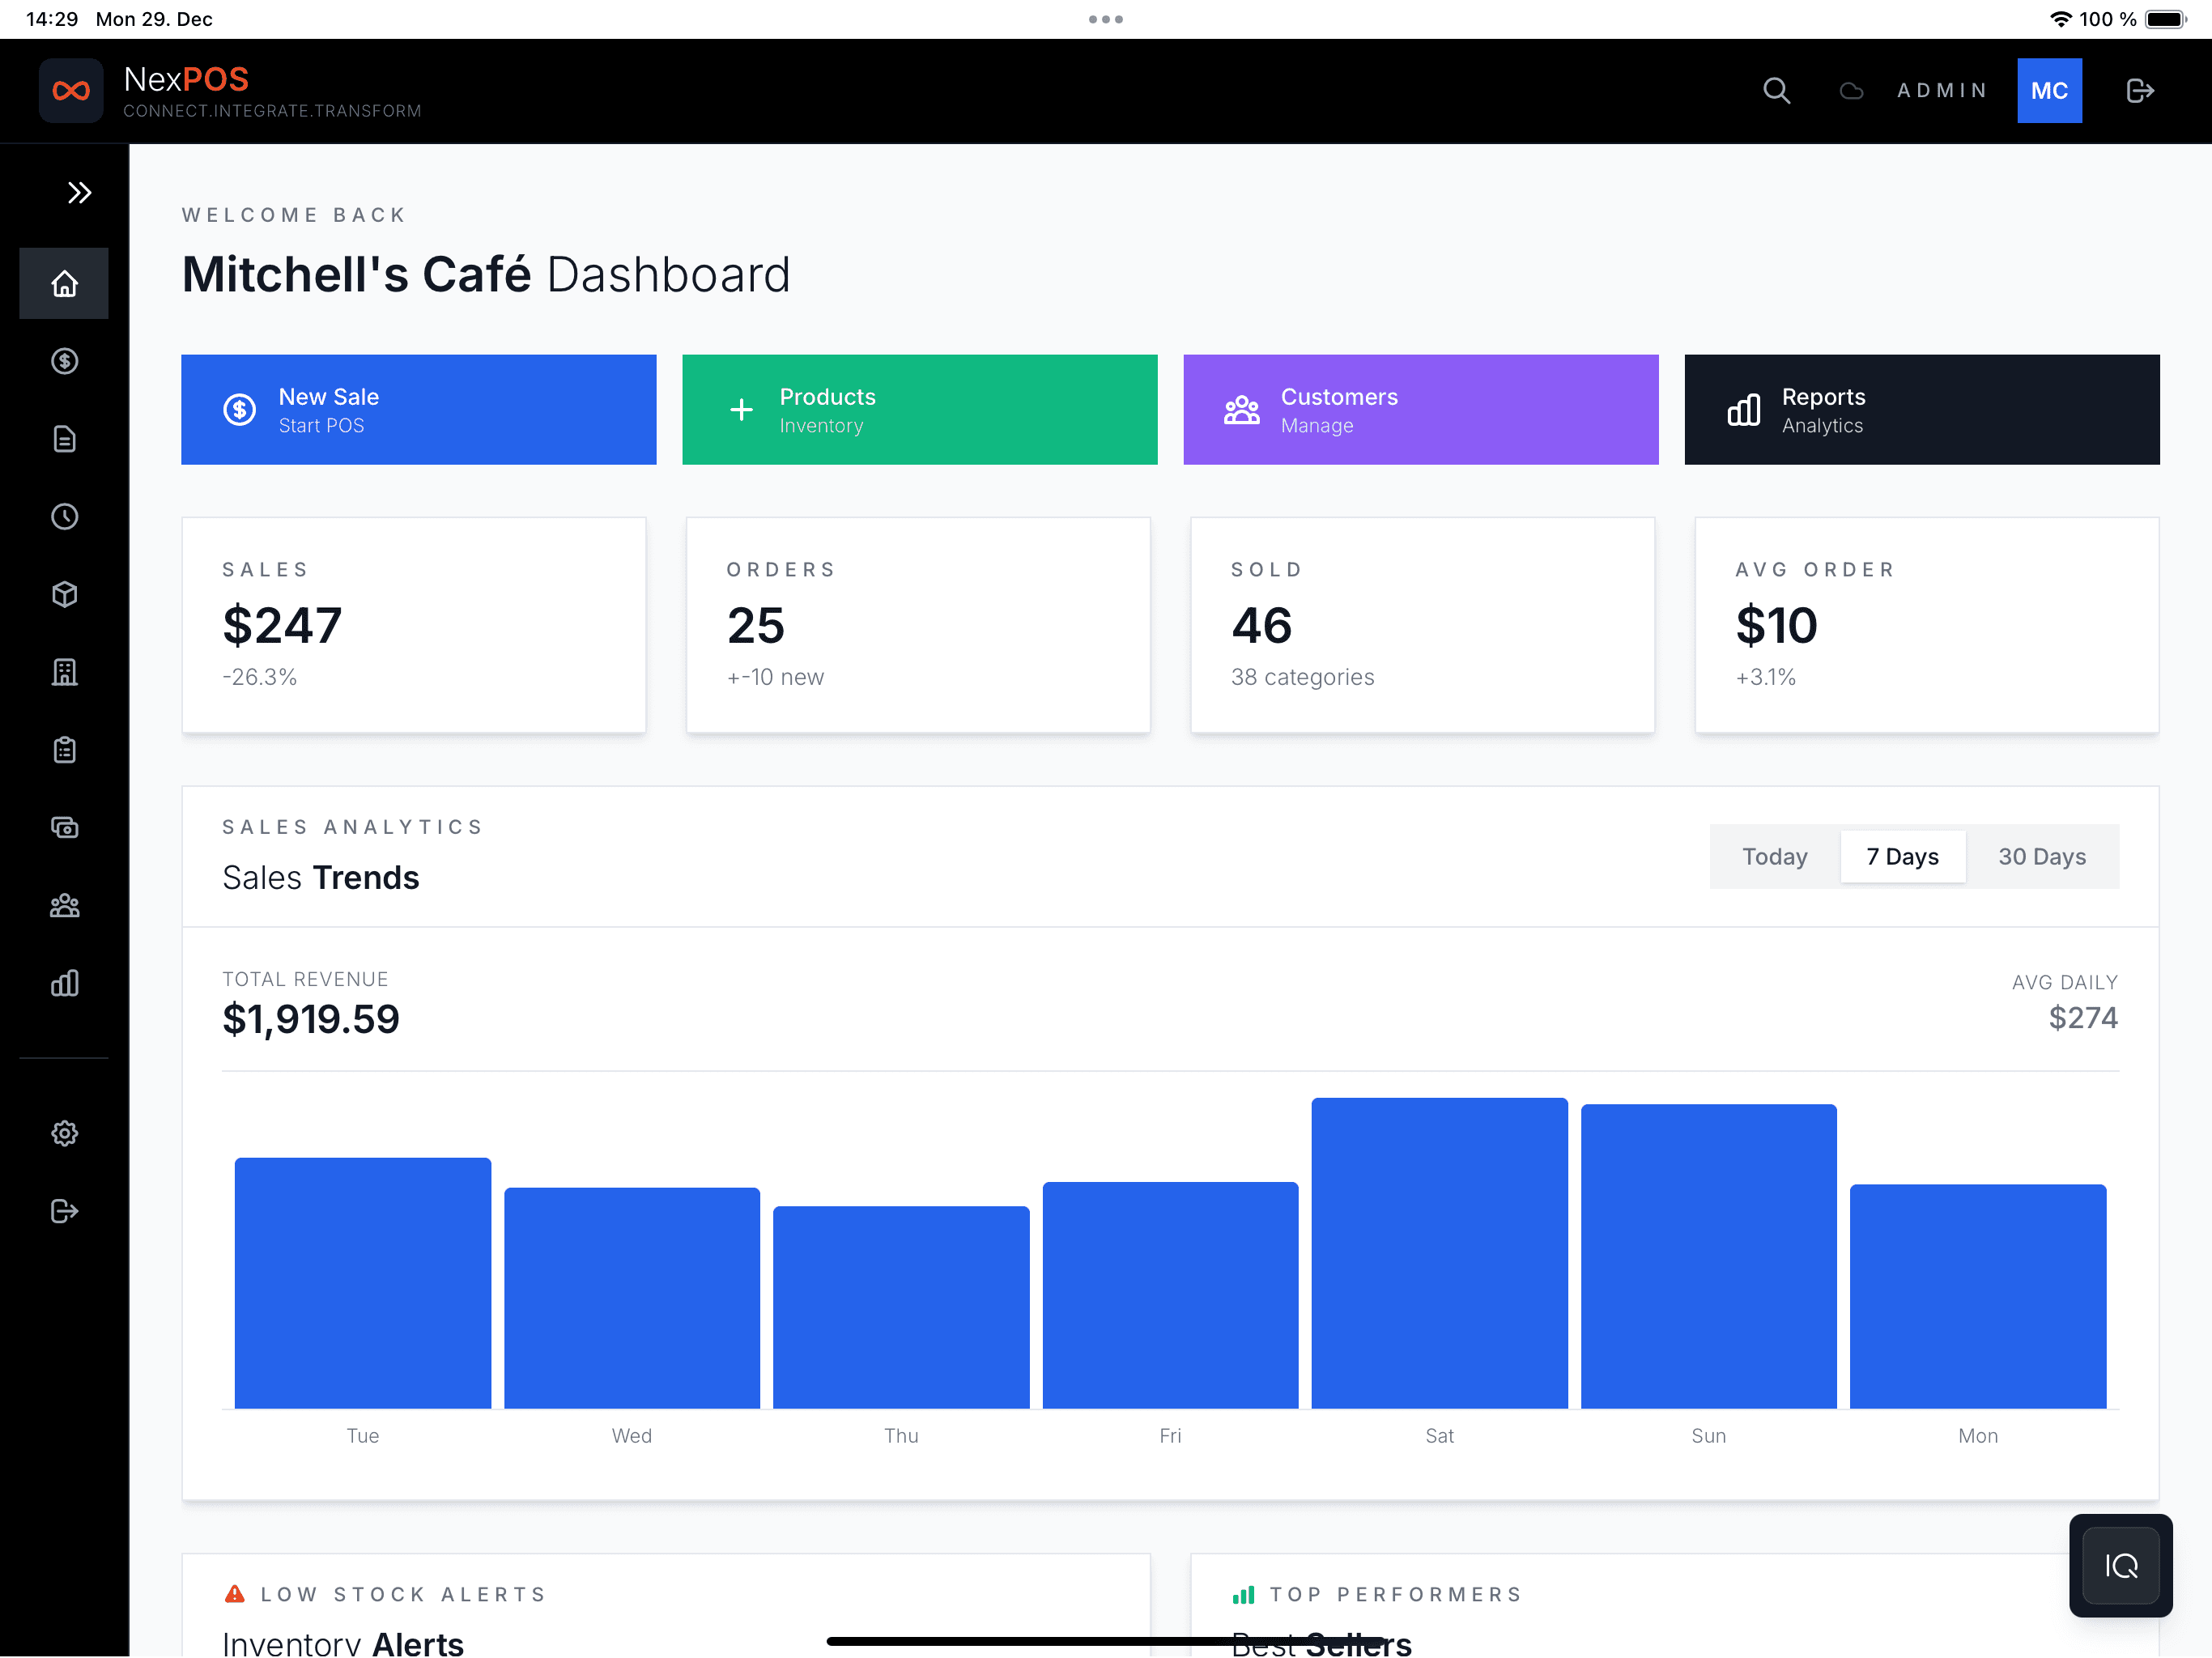
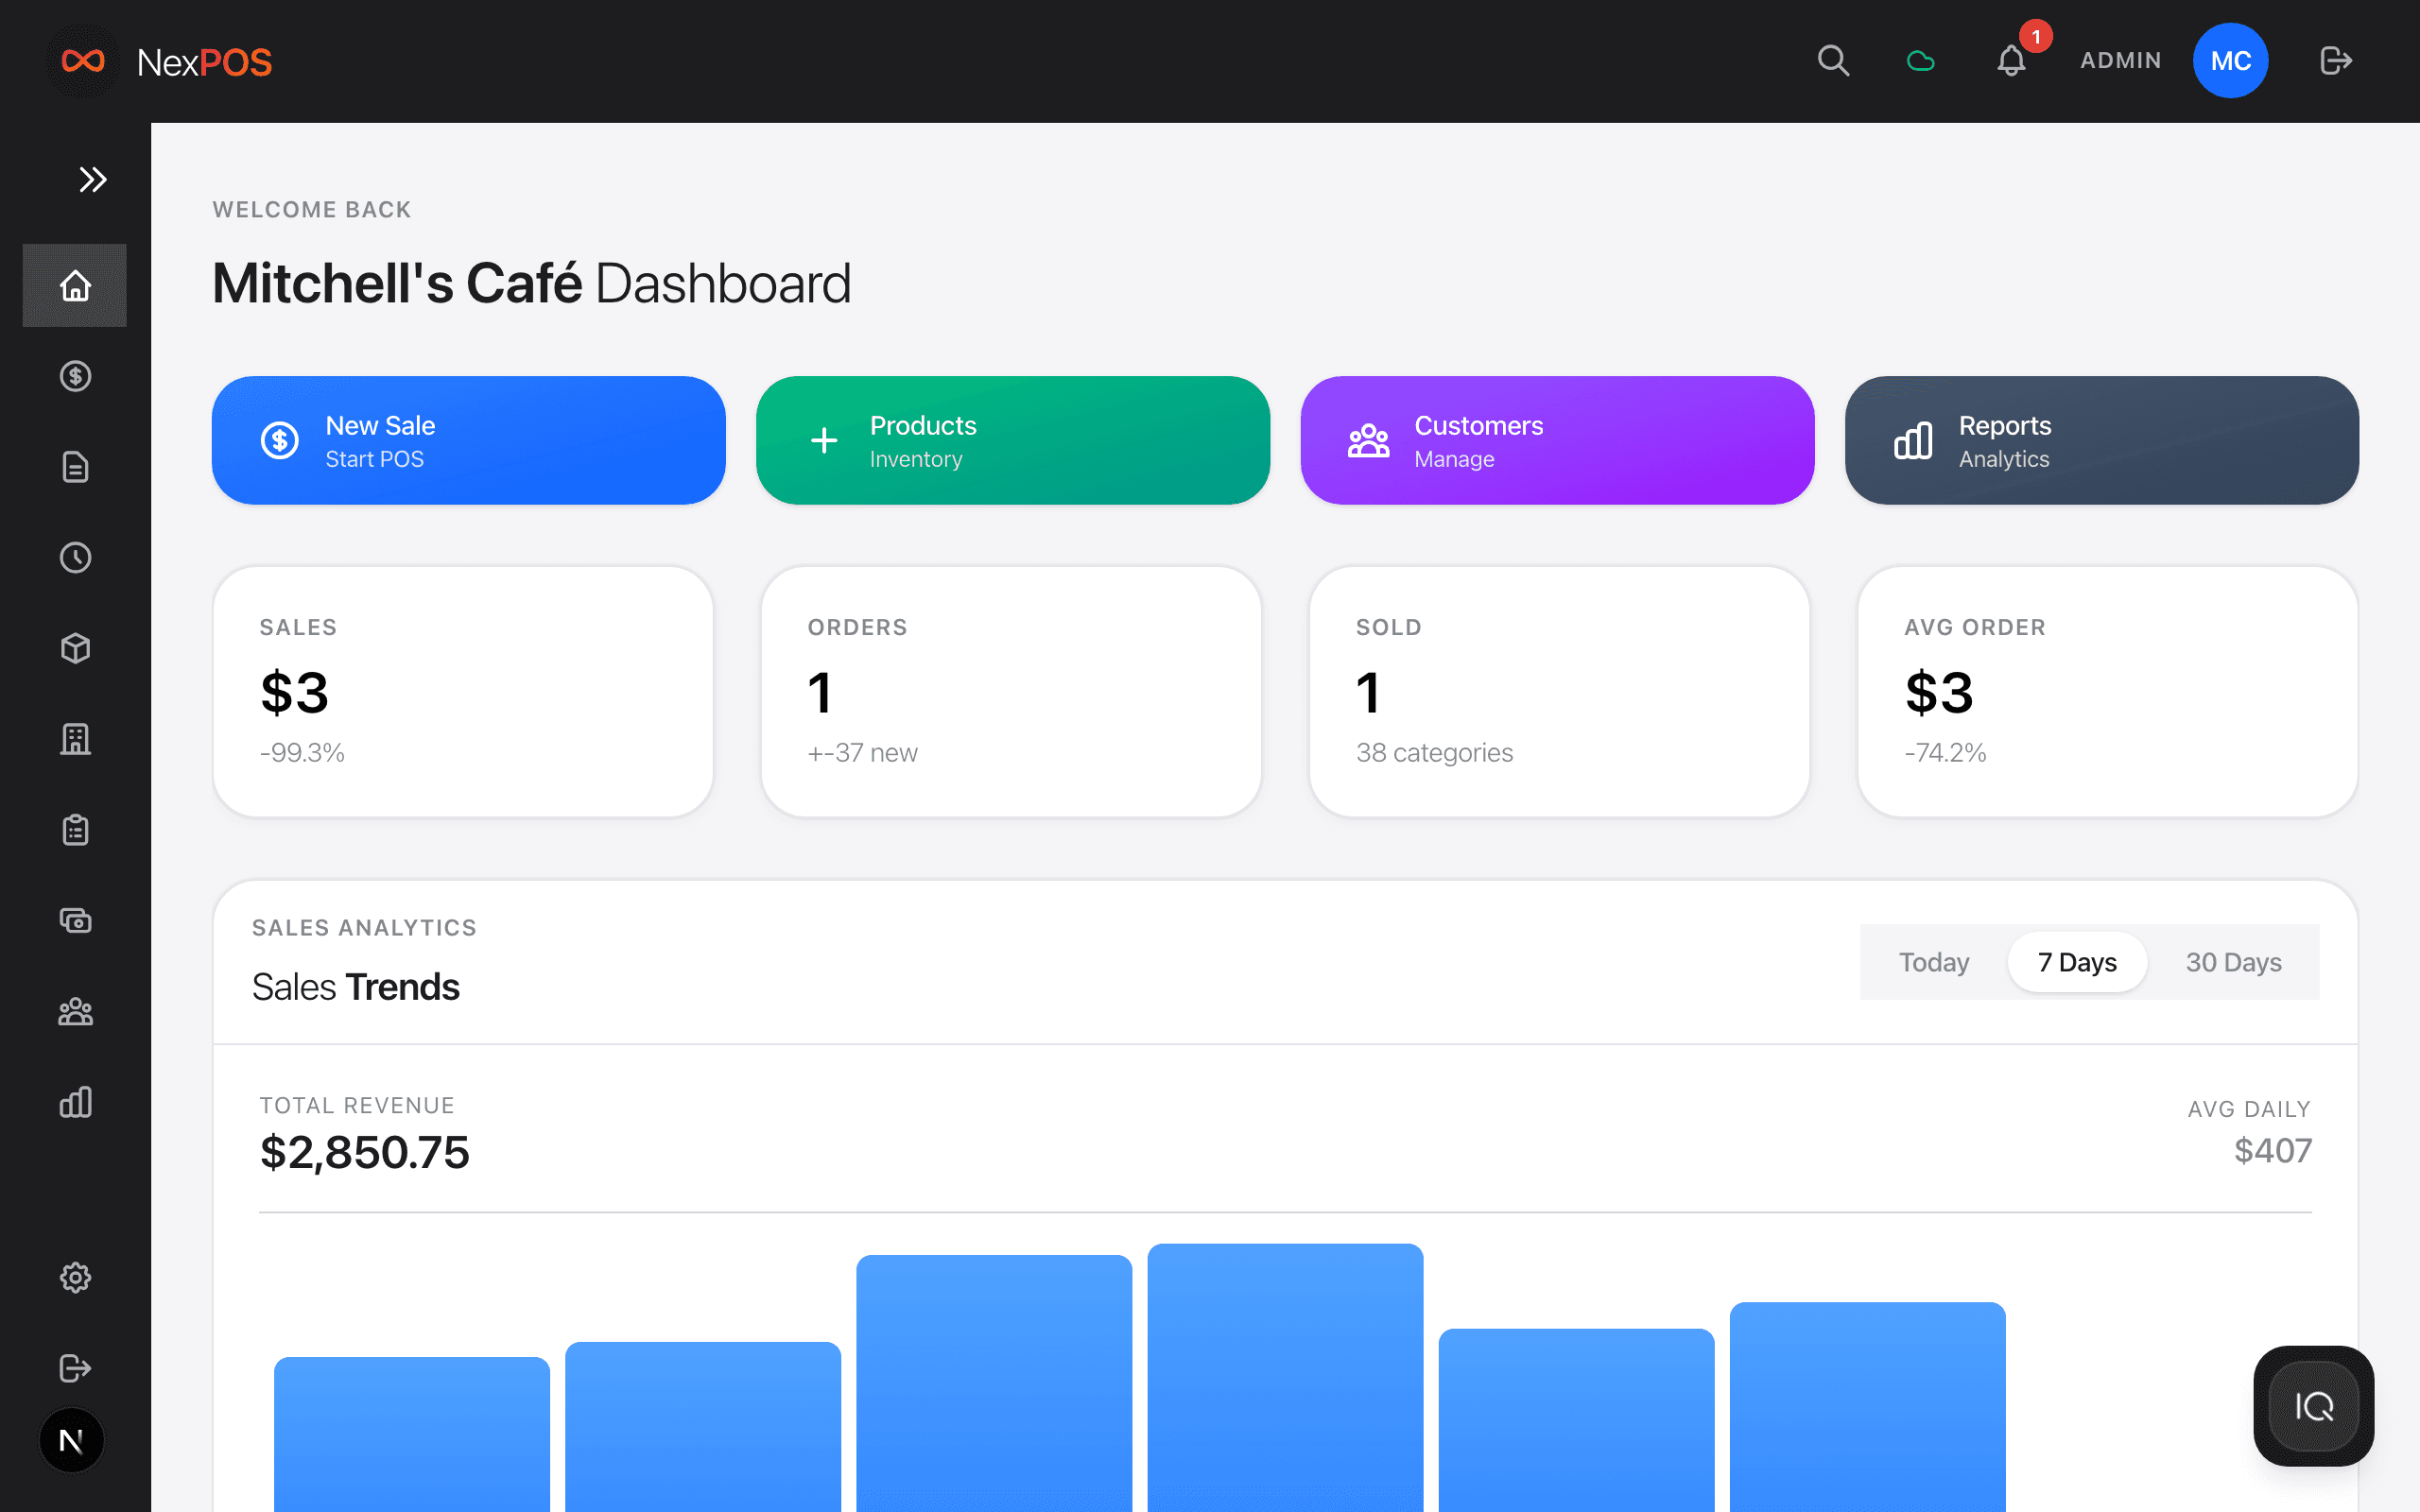
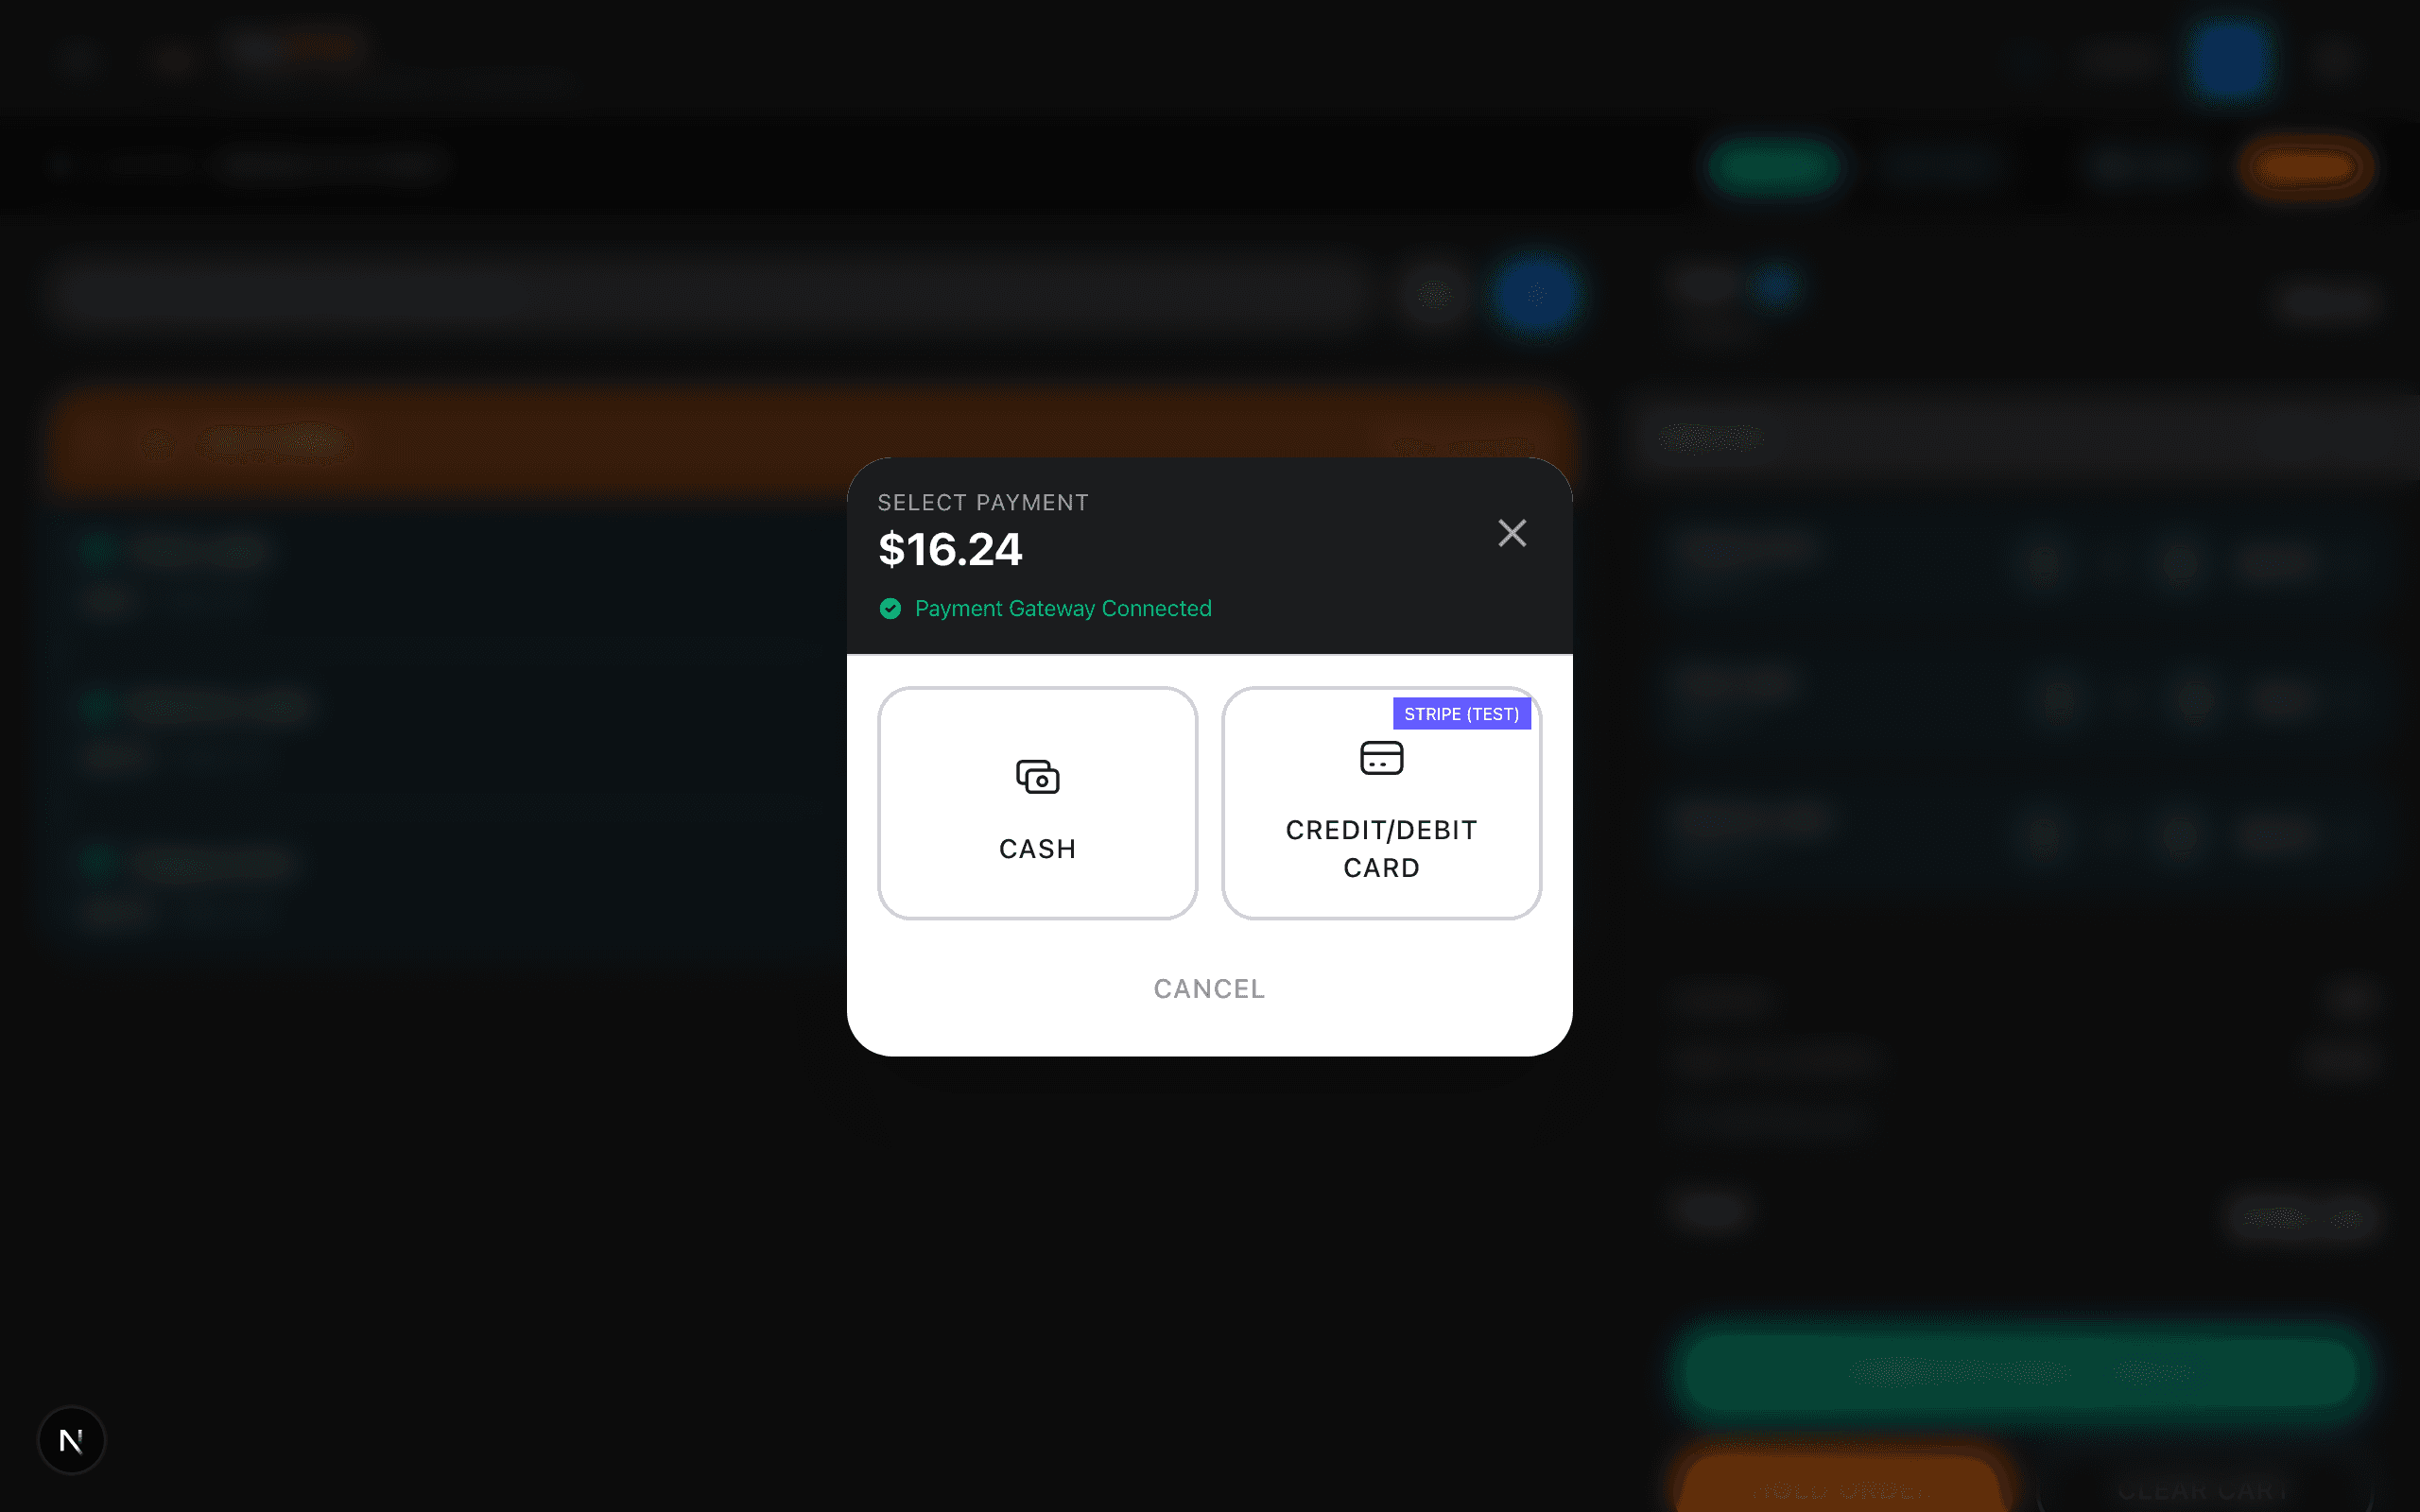
Open the POS screen. Tap a product. Tap Charge. Select payment method. Done. Your dashboard already shows the revenue — and if you track stock (Essential), it is updated too.
Step 4 · 30s
Explore the rest
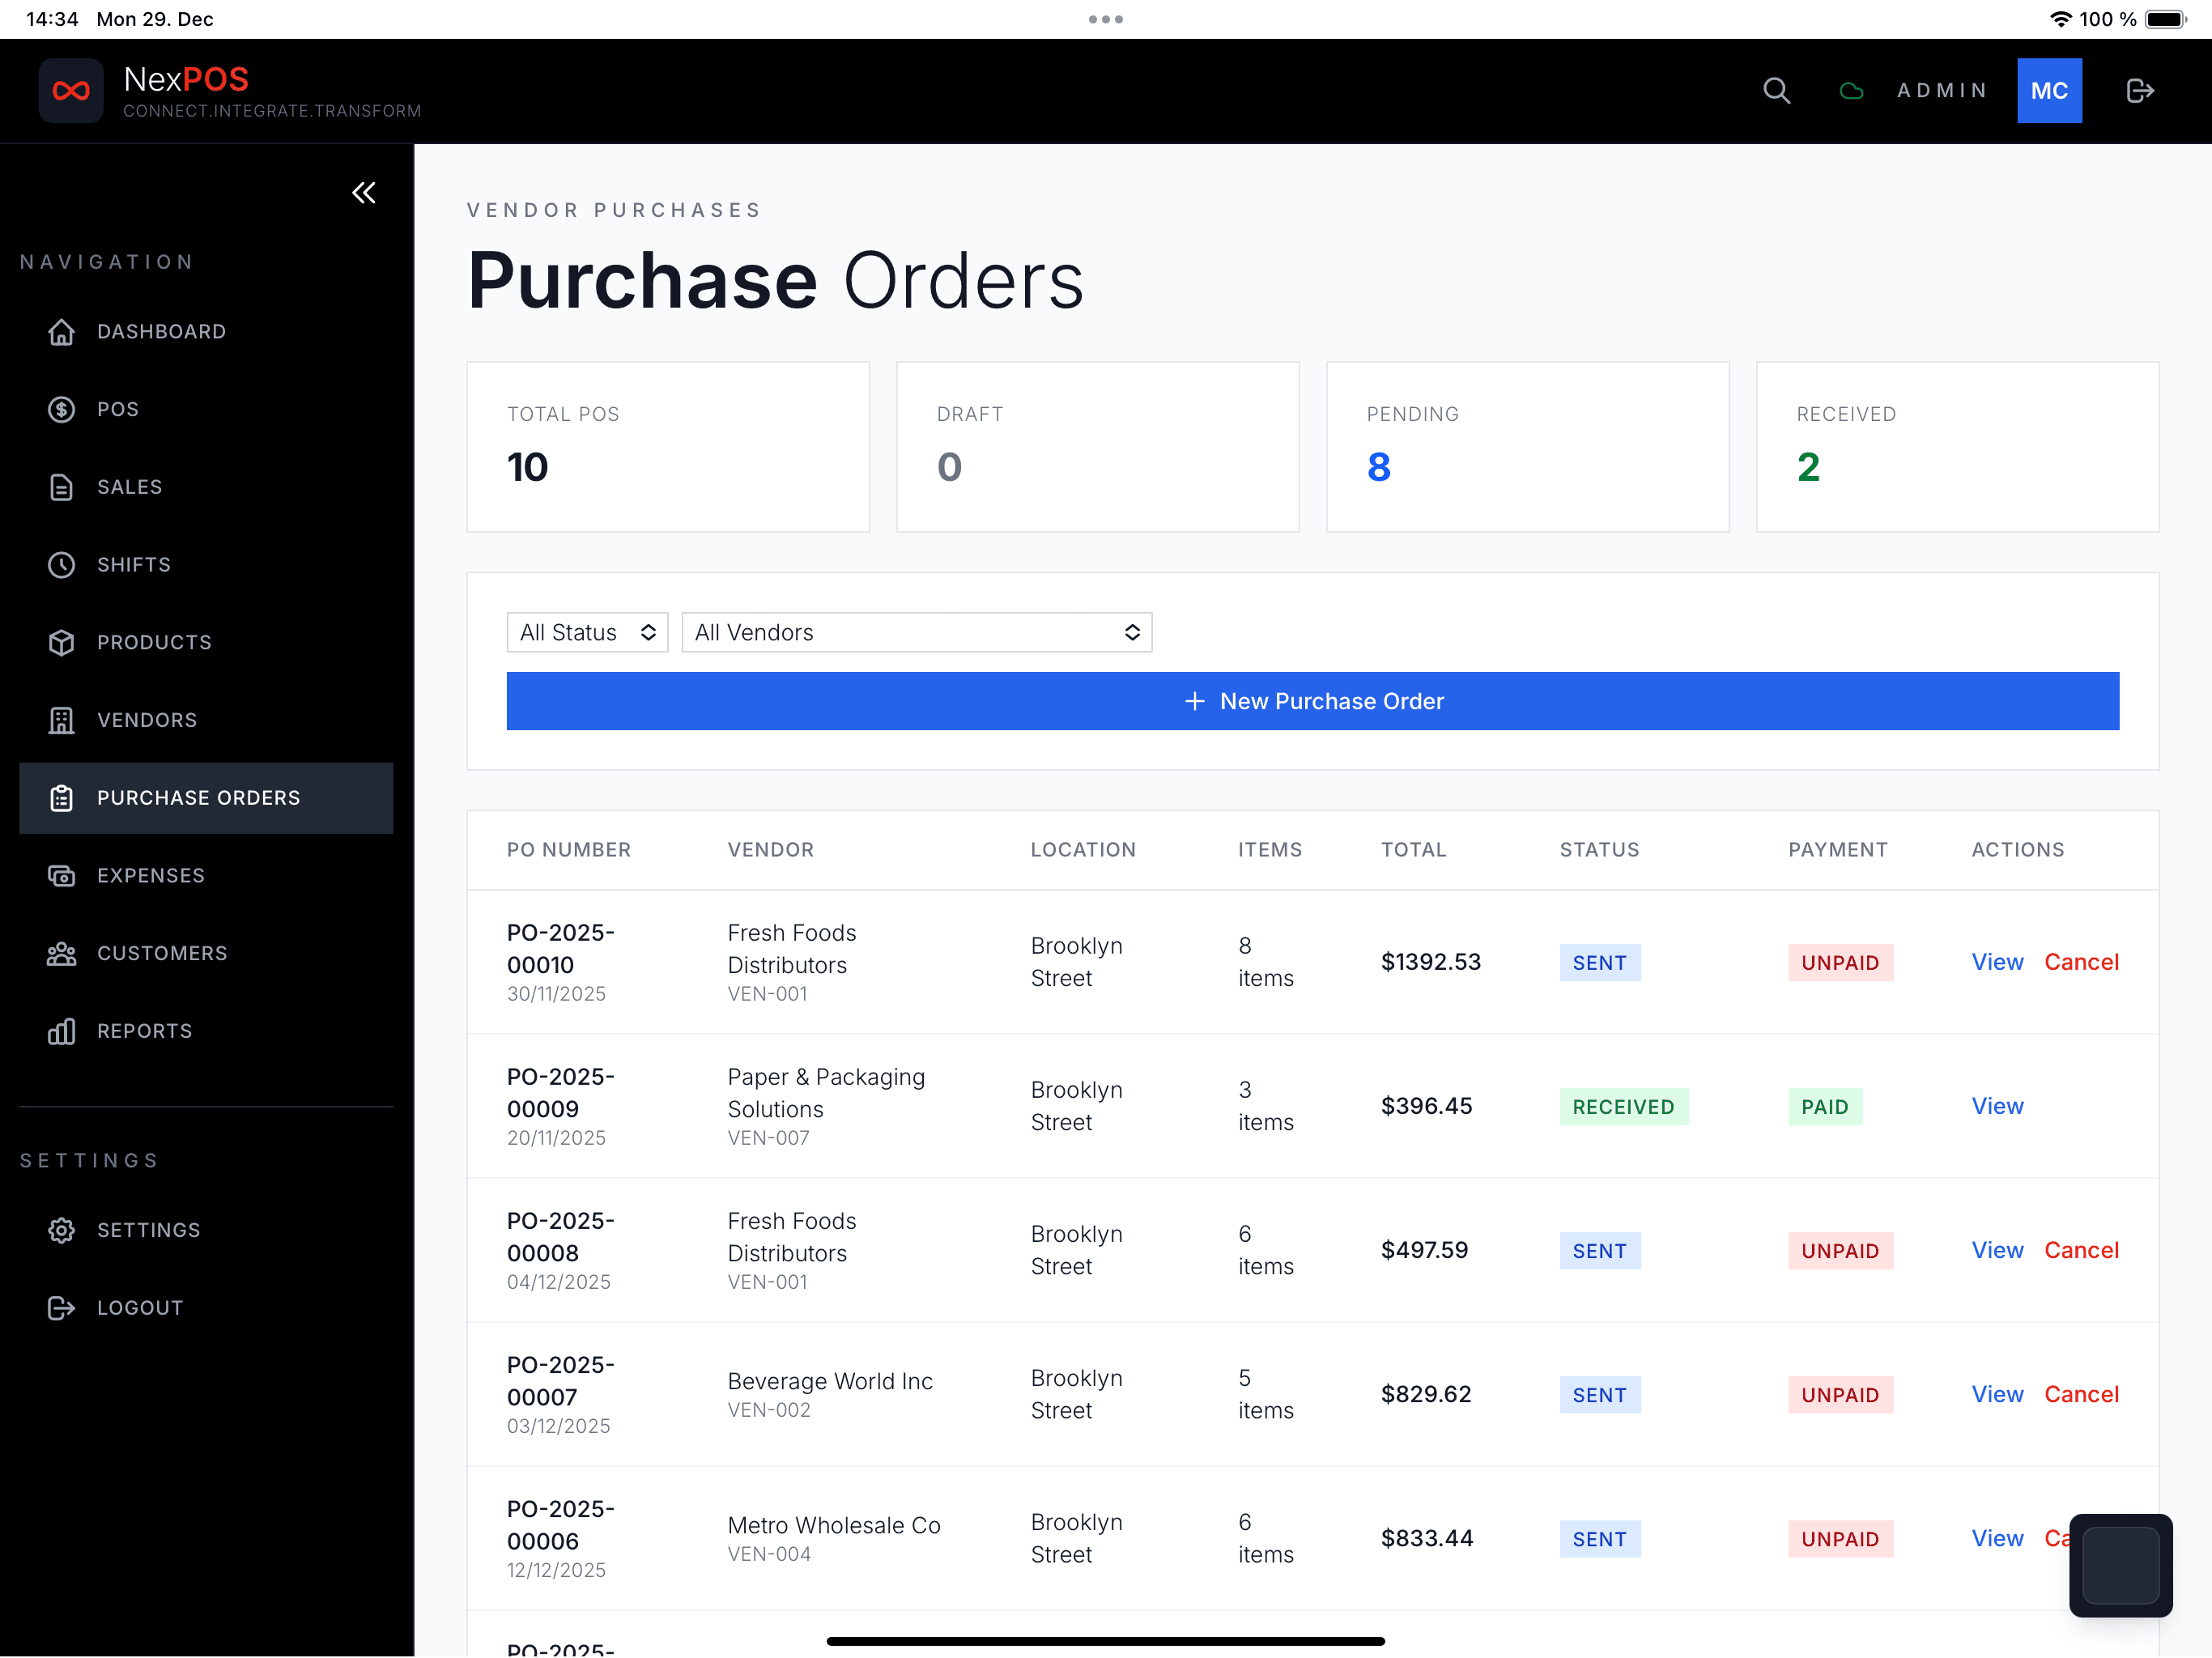
- Inventory (Essential): track stock levels
- Customers (Essential): build a customer database with purchase history
- Reports (Essential): sales trends and top products
- Kitchen Display (Essential): send orders to the kitchen (restaurants)
Try the 2-minute setup yourself
Open NexPOS on the device you are reading this on. We will time you.
Start Free Now